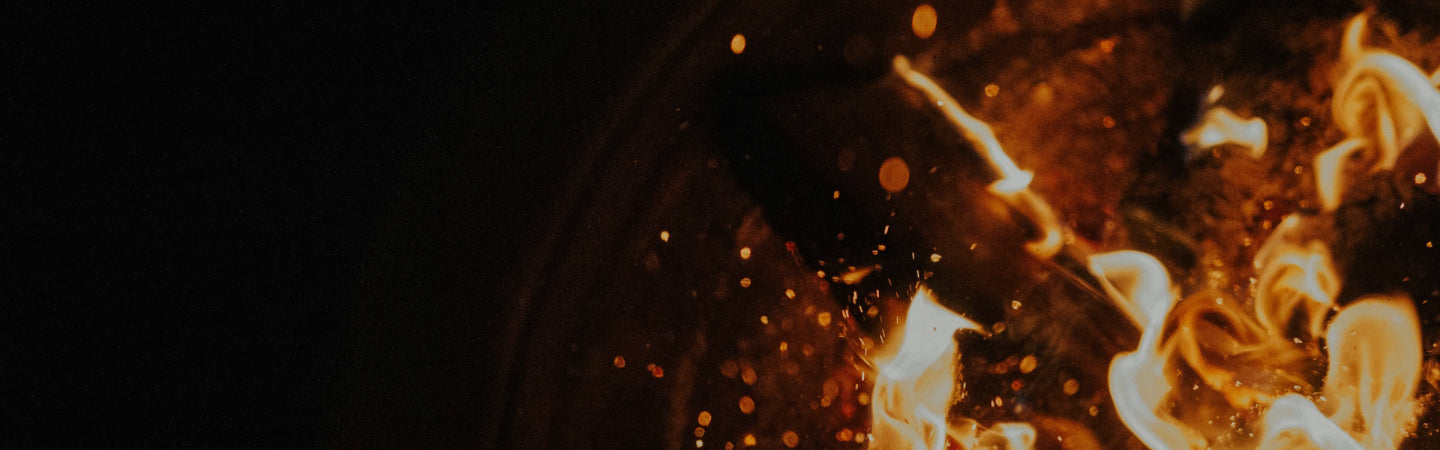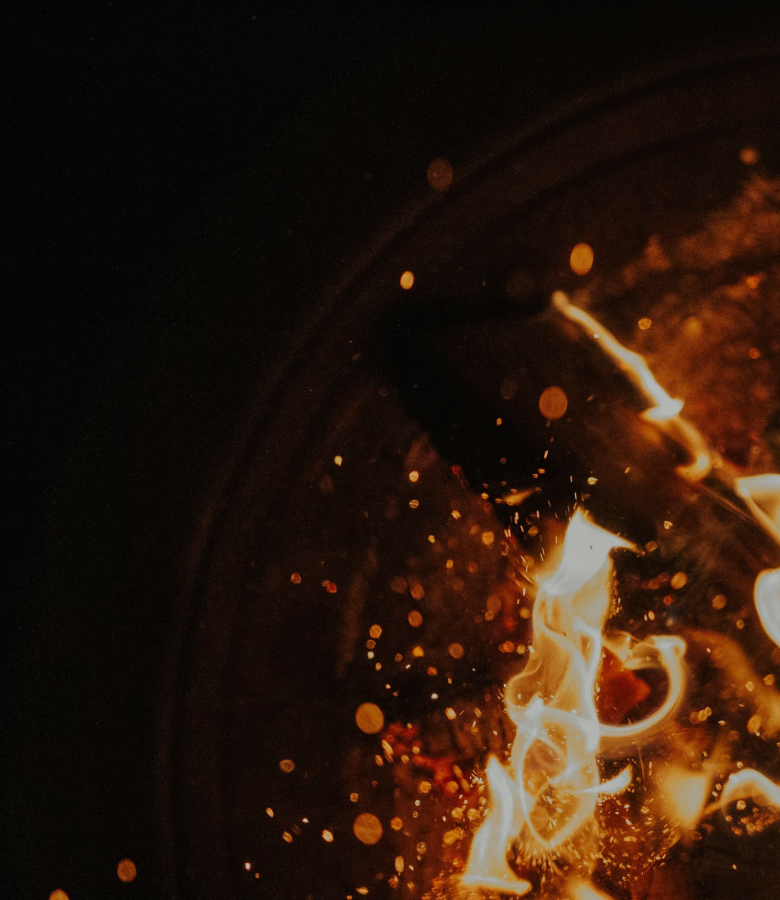
How To Light A Log Fire
We all enjoy the sight and sound of crackling fireplace logs warming our living rooms through the harsh winter months. But there's no single way to make the perfect log fire, and like many things, it will come with practice. Remember that all fireplaces, fuels, and wood-burning appliances are different, so it may take a few tries to find out what is right for you.
We hope you find the following advice helpful and keep your log fire roaring all through the winter.
Things you will need to light a log fire
- A small hand shovel
- A soft brush
- Tongs
- A poker
- A metallic container for removing ash and cinder
- Lighter or matches
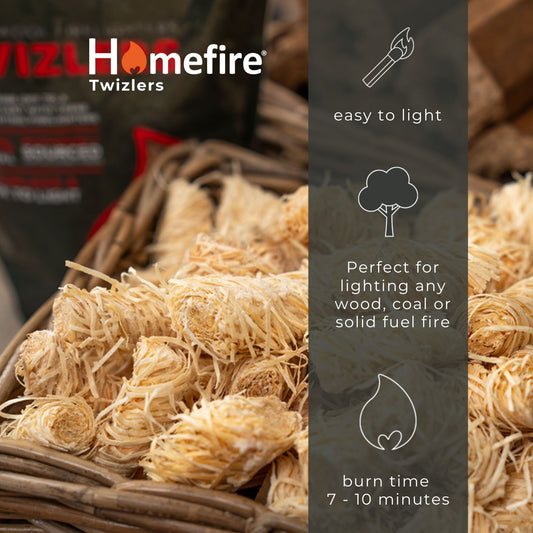
- Kindling or Twizlers
- Firewood
Related Products
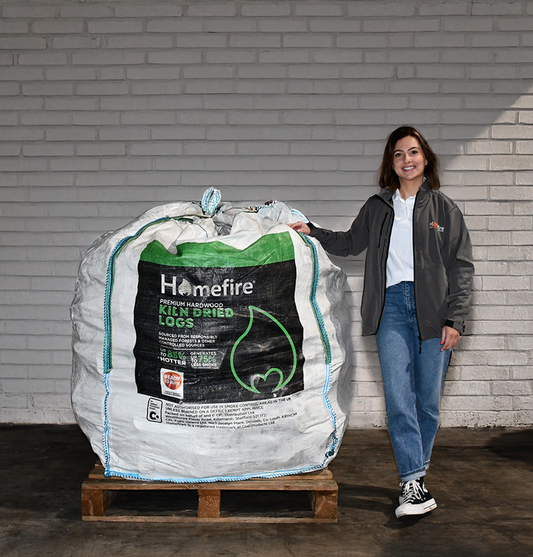
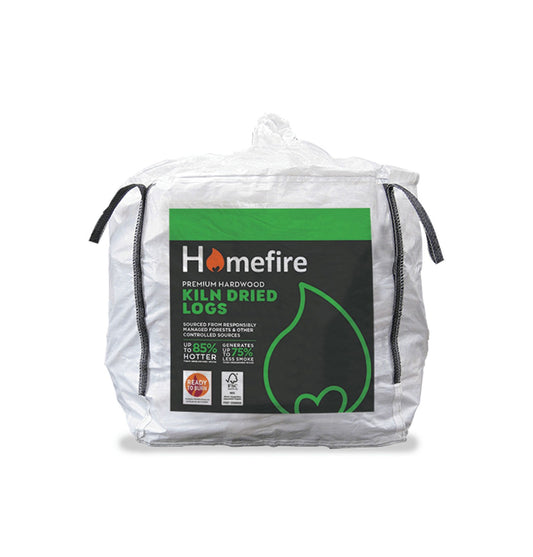
Homefire Kiln Dried Hardwood Logs - Bulk Bag (1m3)
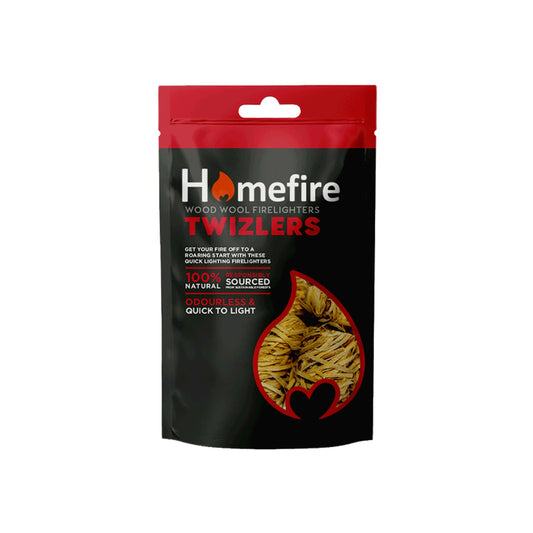
Twizlers Wood Wool Natural Firelighters - 300g
How To Light A Log Fire
Step 1 - Prepare Your Stove
Before you begin the process of lighting your log fire, ensure that your appliance is in good working order. Your chimney should be cleaned bi-annually by a qualified chimney sweep, and the place where you wish to light your log fire must have suitable and adequate ventilation.
A steady air supply is essential—fire needs oxygen to thrive. Make sure any air vents are open and, if indoors, keep a window slightly ajar to help airflow circulate and support combustion. Lack of ventilation is a common reason why fires fail to light or die out quickly.
Step 2 - Rake the Grate to Remove Remaining Ash
Rake the grate using your poker and allow any old ash to fall into the ash pan below. Using the brush, sweep away any remaining ash, leaving your fireplace and hearth clean. Don't clear out the grate completely (just get rid of the ash and small cinders) as you may have some part-burnt pieces of log fire wood or solid fuel left, which are ideal to help get your log fire off to a good start.
Step 3 - Empty the Ash Pan
Cinders, from a previous log fire, that have fallen through the grate can remain hot for many hours, so be careful and do not empty hot ash and cinders into combustible containers – a metal container placed on the hearth is ideal - keep this away from carpets as the heat will transfer. Remove any decorative parts of the fire bed to gain access to the ash pan. Have your container close to hand and slowly tip the ash into your container. Be careful how quickly you tip it as you may end up covered in a cloud of ash if you do it too fast. Remove the ash from the room and replace the component parts of the fire bed so that you are in a position to lay your log fire.
Step 4 - Lay the Firelighters and Kindling
Place two or three firelighters on your fire bed.
To make a combustion chamber around the firelighters, put one piece of kindling against the appliance's back wall. You should then place four or five more pieces of kindling against this first piece. Be careful to leave enough space to reach the firelighters.
Tip: Consider stacking your kindling in a criss-cross pattern to improve airflow between pieces and help the flames catch more evenly. You can also place a few scrunched-up sheets of newspaper underneath for a natural and effective way to get the flames going.
Step 5 - Light the Fire
Light the firelighters and wait until the kindling begins to burn.
If the kindling struggles to catch, you can gently blow on the fire to give it an extra boost of oxygen and encourage combustion. Just be cautious when doing so, always keep your face at a safe distance.
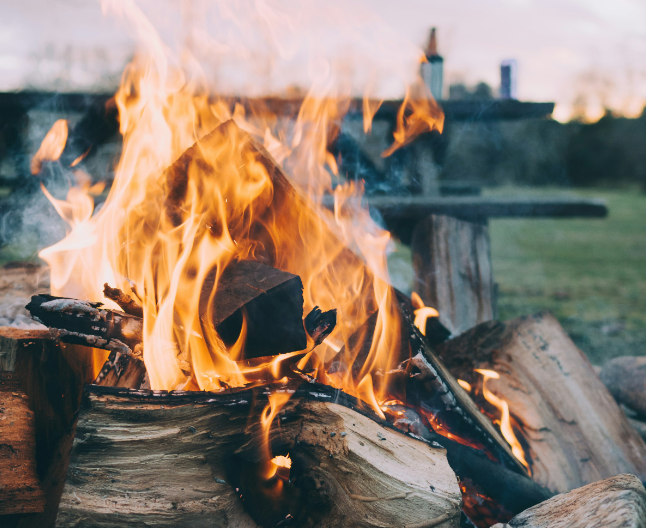
Step 6 - Wait and Enjoy
Once the flames on the log fire are established, add some small logs to the fire. Once these are burning well add some larger logs, always looking to place logs where they can help the fire spread to fill the grate. One reason why a log fire goes out is that people are too impatient, and load the log fire with fuel before the base of the fire has established itself. Avoid piling on too much wood too soon—three or four small logs are plenty in the early stages.
When you are happy that there is sufficient fuel on the log fire, replace your fire guard, clear away any fire-making materials and refill your log basket. You can then sit back and enjoy the warm log fire that your burning fireplace logs bring to your living room!
Fuel tip: The quality of your fuel plays a huge role in how well your fire lights and burns. Always use seasoned or kiln-dried firewood—our Kiln Dried Firewood is ultra-dry, easy to light, and smokeless, making it a great choice for both indoor fireplaces and outdoor fire pits. Likewise, using proper kindling, like our Kiln Dried Kindling, gives your fire the best possible start. Using damp or substandard wood will only make lighting more difficult.
* The advice we give is not exhaustive and therefore not complete. Should you choose to act upon any of the information given to light your log fire, you should do so at your own risk. We will accept no liability nor claims from actions arising from the information set out in these web pages.

How to light a log fire with Homefire